Saturday 25 February 2012

Creating Realistic Rokes With V-Ray Part - 1

Part 1 of this tutorial shows a way to create very realistic looking rocks that can be rendered far away or for very detailed work. After failing to find a decent tutorial online I decided to start experimenting and I came up with this. I already knew how to make decent looking rock but I needed a way of generating loads quickly for a very rocky landscape. In Part 2 we are going to distribute those Rocks on a large scale using Vray Mesh Export and the Advanced Painter Plugin.

You need. 3ds Max, V-Ray, and Francois Mourlevat’s Asteroids Generator Script and the texture inluded in the scene file which is a modifies version of a texture I got from CG Textures.

There is a video that shows the process at the end of the tutorial.

1
Create a Rock using Asteroids Generator Script using the settings below.

You can have a mess around with these parameters. It’s ok to delete the rock that appears when you open the script. The settings I have used are good for the jagged rocks I need. Hit the Creation Button.

2
Apply a Displacement Modifier to the rock. (Note that this is not Vray Displacement Modifier.) I used a strenght of 180mm. Select Shrink Wrap. Make sure you Load the Rock bitmap into the Map box as shown in the expanded view.
3
Apply a Turbosmooth Modifier to the stack. An Iteration of 2 is fine. I would leave it at this if you are going to be using a lot of rocks
4
Open the material editor and create a VrayMtl. Load the same bitmap we used for the Displacement Modifier into the Diffuse Slot. We are using the same bitmap for everything. You will see in the expanded view that I have dragged it down and ‘copied’ it into the Bump Map slot as well. I also added a Falloff Reflection as shown. This creates a realistic look to the rocks by adding a nice reflection to the perpendicular and parallel angles. Remember, Everything reflects!

You can take the Reflect amount down to 40 or lower and turn Refl. glossiness down to 0.5. You can mess around with these levels.

5
Apply the material to the rock and add a uvwmap modifier to the rocks modifier stack. Choose Box as the mapping method.
6
I decided at this stage to add a Vray Displacement Modifier below UVW Mapping using the settings below. Copy the Material in the Bump Slot over to the Texmap box. Amount 5.0mm, Resolution 300 and Precision 5. Nice and low for rendering.

Note: to speed up the rendering you can use 3D mapping, instead of 2D mapping, for a slightly different, but faster result.

At this stage hit render to see what your rock looks like. Note: To get some light in the scene, change the Environment slot to white if it’s not already.

7
Using another script called pivot placer which is part of Blur Scripts I placed the pivot to the bottom centre of the rock. Hit right mouse button on the Z: Position spinner arrows to get the rock on the floor.

blur scripts link http://www.neilblevins.com/blurscripts/blurscripts.htm

8
Using the Asteroids Generator hit Creation to create more rocks. Each one is a different seed. Again, place the pivots of each one to the bottom center Hit right mouse button on the Z: Position spinner arrows to get the rock on the floor.
9
Copy the original Rock’s Modifier Stack to each new Rock as an Instance, and Apply the Rock Material to each of them as well.

You now have new rocks with exactly the same modifiers and materials applied. Make as many as you need.

If you are finding things are starting to get heavy for your PC then turn Iterations in the Turbosmooth Modifier down to 1. Essentially we want to create these rocks for distribution using Vray Mesh Export at a later stage so a higher Iteration will be fine. But for this exercise you can turn it down.

10
So we have a number of Rocks, all different, with copied instances of the modifier stack, and the same material applied also.
11
Create a Vray Plane and apply a basic VrayMtl to it.
12
Create a VraySun and click yes to add the Vray Sky to environment.
13
Create a VrayPhysicalCamera and position it as shown. Click image for Camera settings.
14
Render Settings. Note: Just decrease or increase the Noise Threshold Amount in V-Ray DMC Sampler to change render quality.

Note: The settings in the incuded scene file have Brute Force GI and camera Depth of Field (DOF) enabled, and this can take a while to render. To speed up the rendering you may want to try using the Irradiance Map GI method instead, and turn off the DOF in the V-Ray camera.

Video


Creating Realistic Rokes With V-Ray Part - 2

In part 1 we created very realistic looking rocks that can be rendered far away or for very detailed work. In part 2 we are going to distribute those Rocks on a large scale using Vray Mesh Export and the Advanced Painter Plugin. The image below was created using this exact method.

You need. 3dsMax, Vray and the Advanced Painter Plugin.

There is a video that shows the process at the end of the tutorial.

1
I have created 12 different instances (included in the scene file) of the Rocks we created in Part 1 of this tutorial. I have named them rock_01 - 12
2
Select all the Rocks and right click to open the quad menu, select V-Ray mesh export. Choose 'Export each selected object in a seperate file'. This will keep the rocks individual and not as one collapsed vray mesh.

Use 50 faces in preview, or even less to keep things zipping along. Save them into a folder.

I created a new folder called 'vray_mesh_exports'. This is where Vray will save our Mesh Export Versions of our Rocks.

Note: Vray Mesh Export is normally applied after you have merged an object to your scene. To be on the safe side make sure you save your models as a max file, as you normally would with any model you create.

Note: If you have used any unusual characters such as : / @ '' in the naming of your object then V-Ray Mesh export will fail as windows cant use characters in file names.

3
You will now see that the Rocks names are now 'VrayProxy_rock##'
4
Create a plane. 30x30metres. Create a basic Landscape by converting the plane to an editable poly and then using the Paint Deformation tool to push and pull the plane. You can also import or merge the landscaping you wish to use as well.
5
Once you have finished creating your landscape open the Advanced Painter plugin. Choose Randomizer from the drop down menu and add the rocks. Click on your Landscape and the click paint. You can now start painting the VrayProxy Rocks on to the landscape. You can have a play around with the Advanced Painter settings to tweek the way they rocks are painted, such as, scale variation, rotation and how close to the landscape you want the rocks. I find smaller rocks acheive a more realistic look so a setting between 0.2 - .35 is a good. (This is in relation to the original size of the model used)

IMPORTANT: Navigate away from Modifier Tab to the Create Tab otherwise you will suffer a lot of refresh slowdown when you are painting. This is a natural problem in Studio Max not the plugin itself.

I find it useful to create Rocks in a new Layers in the Layer manager. This allows you to turn off the layers if your scene if it the poly count is starting to become heavy.

Take some time to paint them. I find rushing this process has a bearing on the final result.

6
Once you have finished hide all the rocks you have created. Click on your landscape and add the Rock Material. Add a Displace Modifier (not vray displacement) in the stack and copy over the Rock Bump Map to Map image method as an instance. Choose Shrink wrap method and make sure the Displacement Modifier gizmo centre is lined up to the bottom of your landscape. (This just helps to stop the mapping warping).

This is a really nice way of getting the Landscape to blend with our rocks.

7
Add a turbosmooth modifier to the stack. You can see we are basically repeating the method we used in Part 1 to create the rocks in the first place. Now we are using it on the Landscape.
8
Add a Vray Displacement modifier to the Stack as shown. Add the bitmap in the bump map slot to Texmap.
9
Unhide the Rocks in the Layer Manager and render.

The image below shows what you can achieve using this tutorial. I have added a wooden walkway with Vray Lights underneath. Post work in Photoshop includes Vignetting Effect and Clouds.

Video

40 Excellent Examples of Interior Designs Rendered in 3D Max


Ads

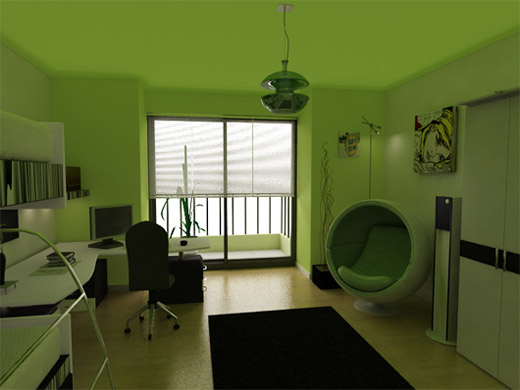
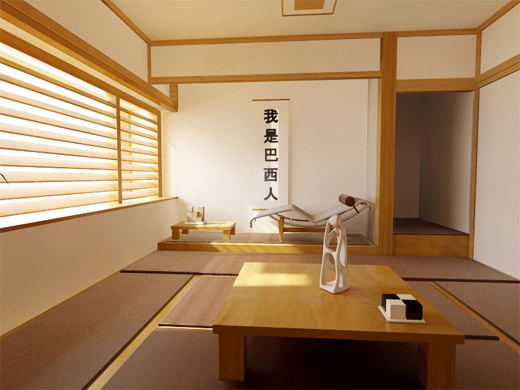
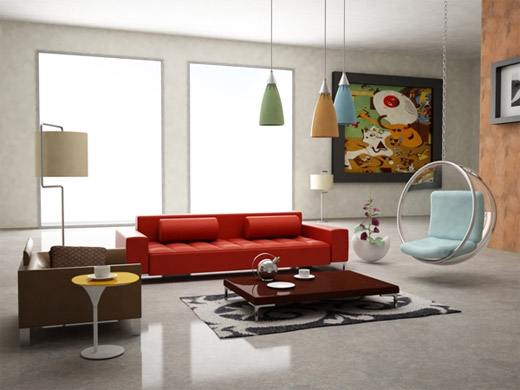
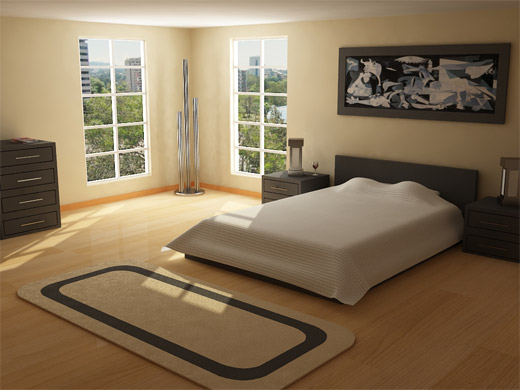
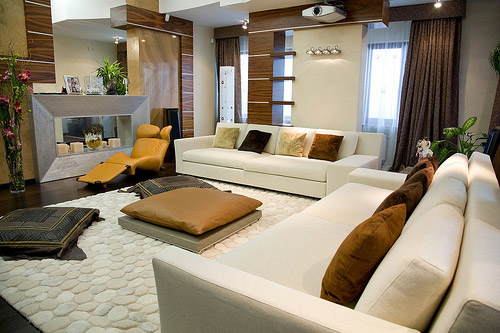
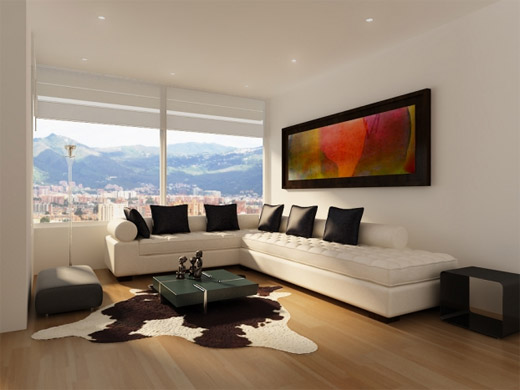
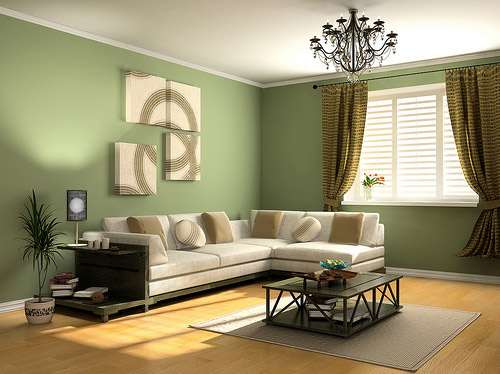
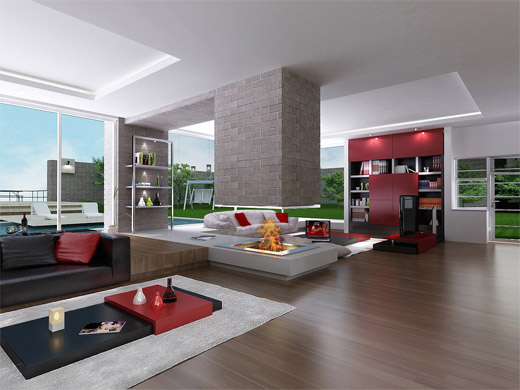
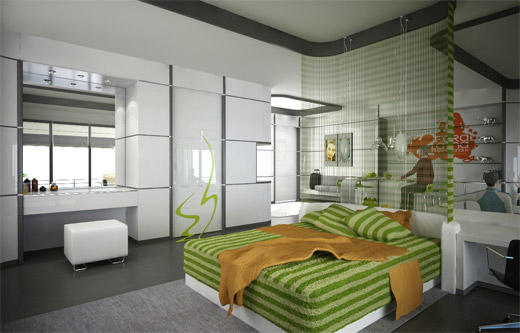
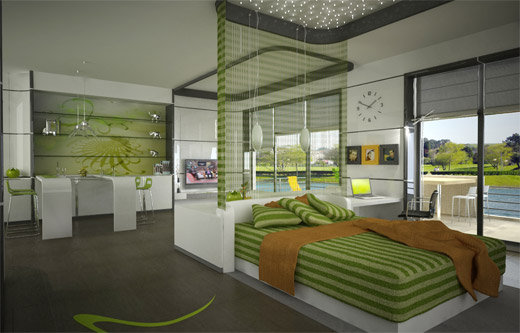
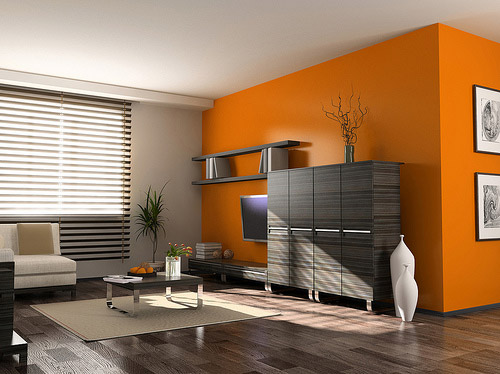
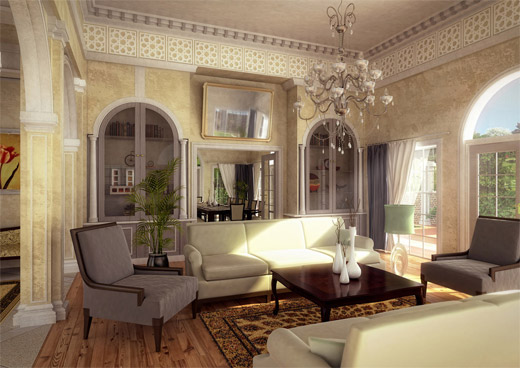
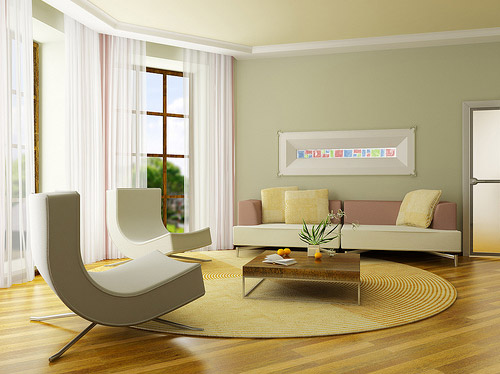
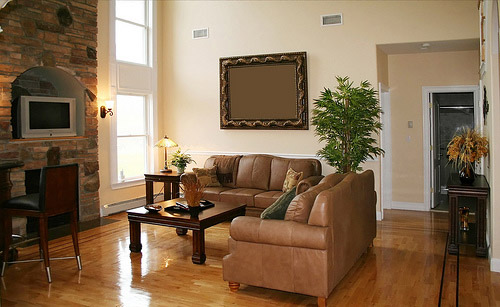
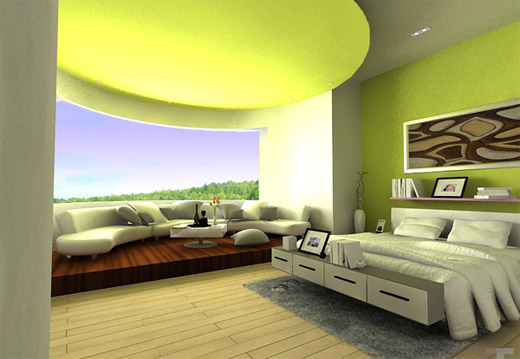
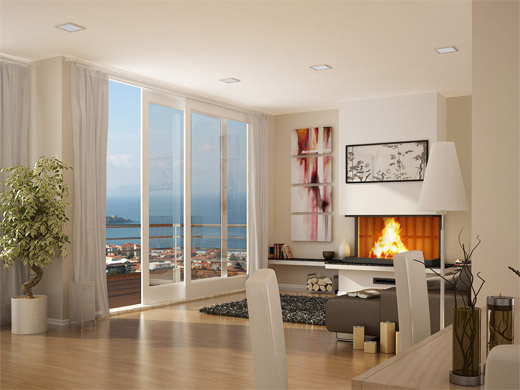
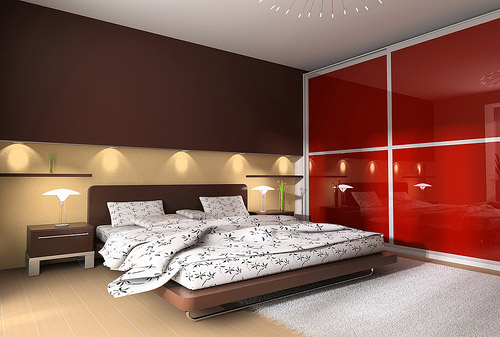
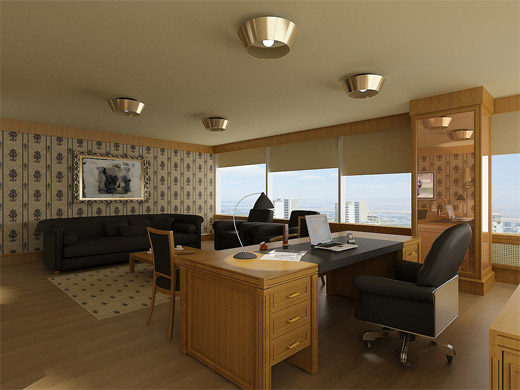
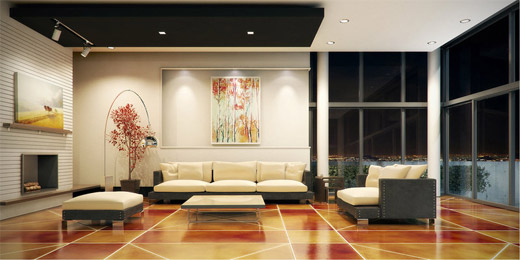
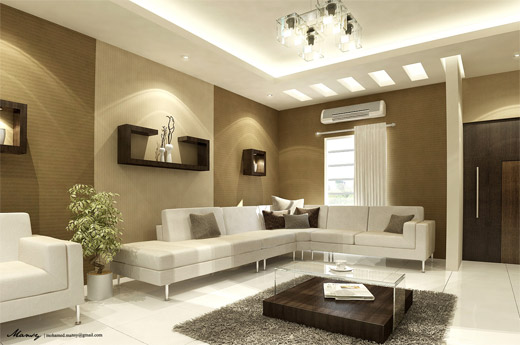
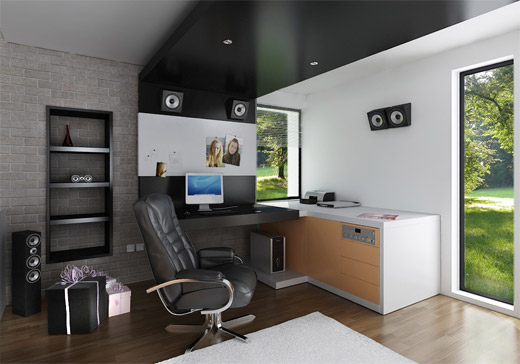
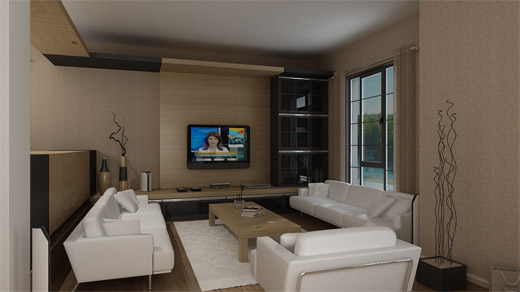
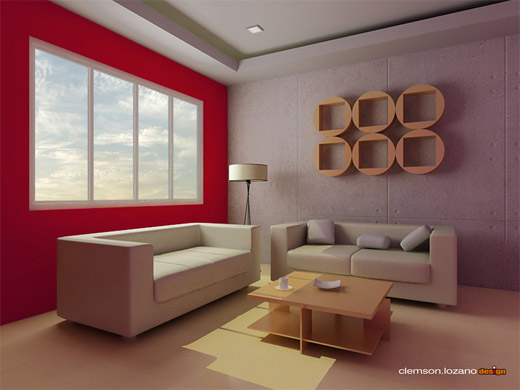
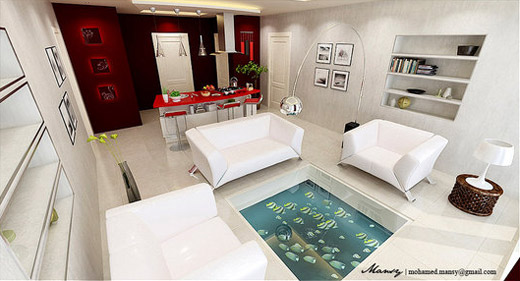
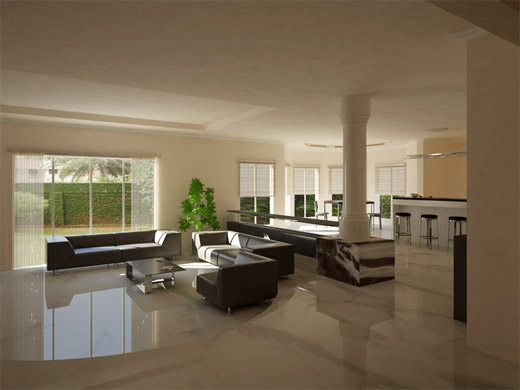
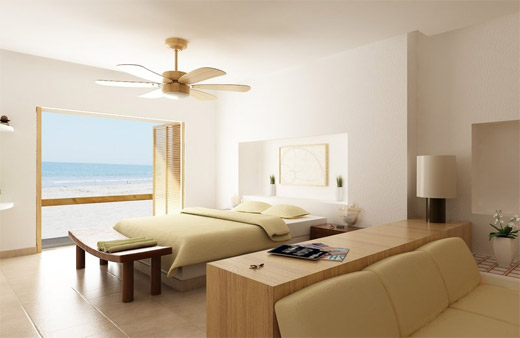
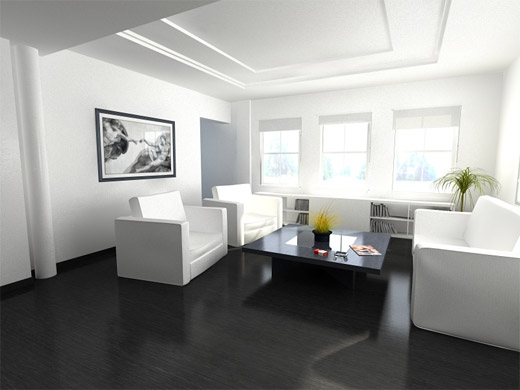
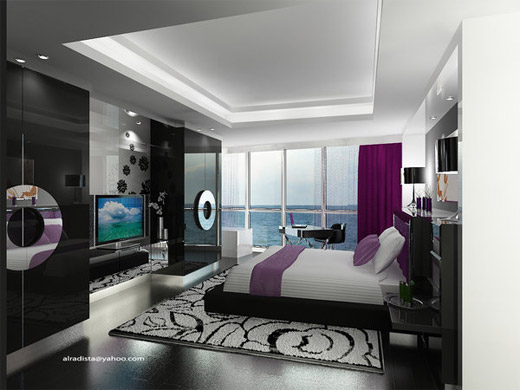
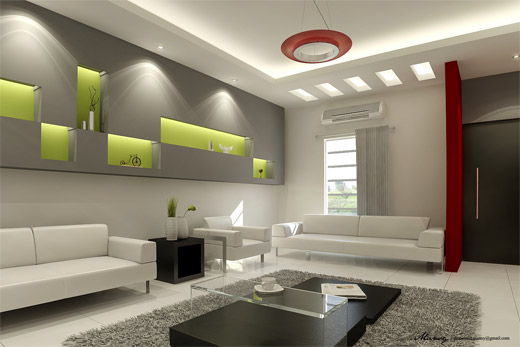
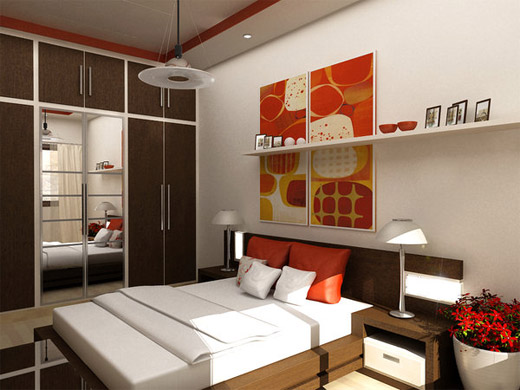
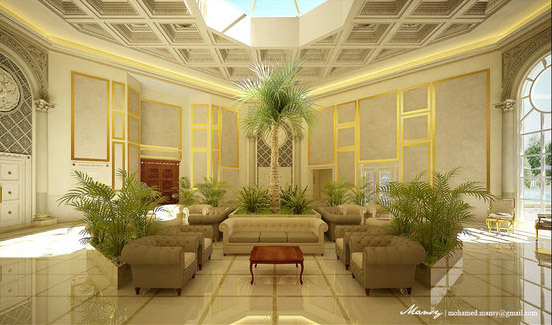
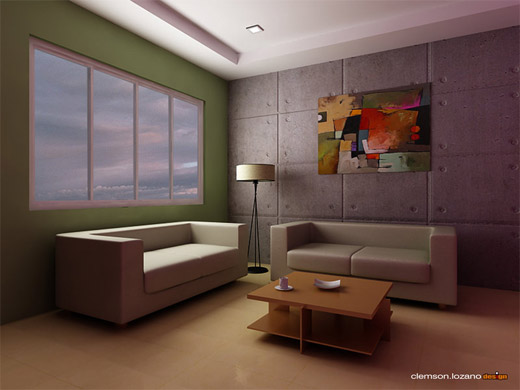
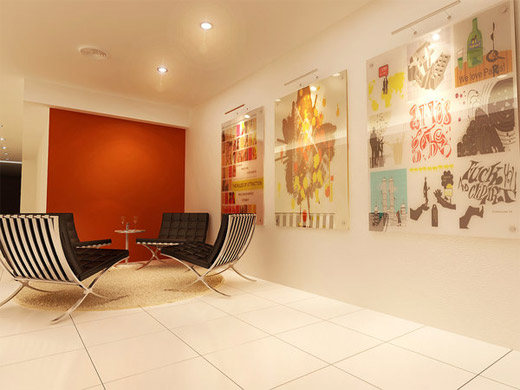
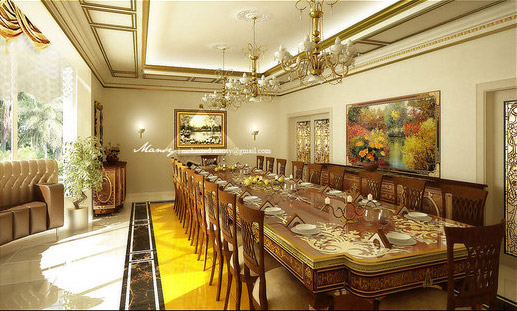
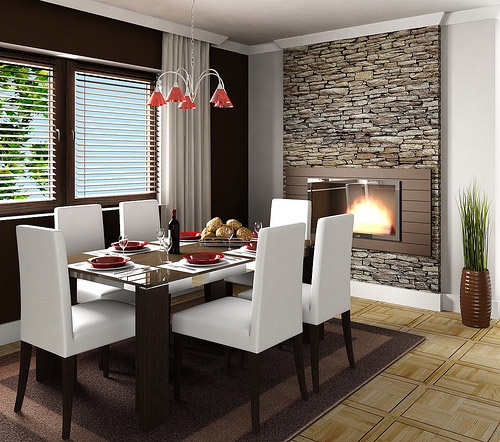
3D Max is one of the commonly used software for architecture and interior design field on creating good presentation of architectural projects. Although it is not that easy to use and master the techniques to achieve the best result in a short period of time, it’s still worth to learn. Today, I collected some examples focusing more on a house interior done in 3D Max to inspire you just in case you decide to start exploring this program.
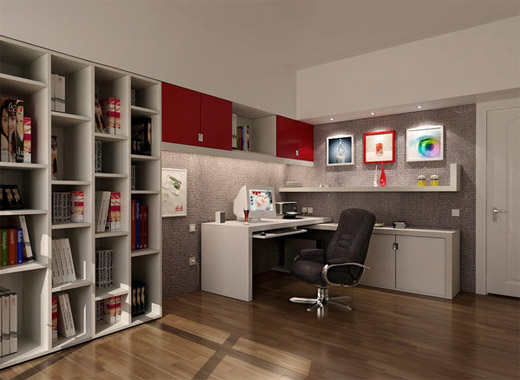
Here is 40 Excellent Examples of Interior Designs Rendered in 3D Max. Also using V-Ray plugin plays a big role on 3D Max to achieve more realistic outcome and photoshop for editing purpose such as contrast, shadows, color balance and so on. Check them out.
interior1

by : noBRART

3DMax Interior Design Render

by : Rodrigo Amorim

3DMax Interior Design Render

by : Zigfil

3DMax Interior Design Render

by : 1Belchior7

3DMax Interior Design Render

by : Remodeleze

3DMax Interior Design Render

by : Maria Margarita Coronado

3DMax Interior Design Render

by : Remodeleze

3DMax Interior Design Render

by : vrlosilepa

3DMax Interior Design Render

by : vrlosilepa

3DMax Interior Design Render

by : vrlosilepa

3DMax Interior Design Render

by : Remodeleze

3DMax Interior Design Render

by : Fraher David

3DMax Interior Design Render

by : Remodeleze

3DMax Interior Design Render

by : Remodeleze

3DMax Interior Design Render

by : dendoush

3DMax Interior Design Render

by : ELFTUG

3DMax Interior Design Render

by : tiamatcry

3DMax Interior Design Render

by : kmpkt

3DMax Interior Design Render

by : Andrey Sharonov

3DMax Interior Design Render

by : Remodeleze

3DMax Interior Design Render

Ads


by : ozhan

3DMax Interior Design Render

by : Remodeleze

3DMax Interior Design Render

by : gokiyan

3DMax Interior Design Render

by : simplychen

3DMax Interior Design Render

by : Mohamed Mansy

3DMax Interior Design Render

by : vrlosilepa

3DMax Interior Design Render

by : vrlosilepa

3DMax Interior Design Render

by : vrlosilepa

3DMax Interior Design Render

by : Clemson Lozano

3DMax Interior Design Render

by : Mohamed Mansy

3DMax Interior Design Render

by : kripal911

3DMax Interior Design Render

by : Francisco Garcia Otero

3DMax Interior Design Render

by : Diego Reales

3DMax Interior Design Render

by : alradista

3DMax Interior Design Render

by : Mohamed Mansy

3DMax Interior Design Render

by : Jieda

3DMax Interior Design Render

by : Mohamed Mansy

3DMax Interior Design Render

by : Clemson Lozano

3DMax Interior Design Render

by : 3Dskaper

3DMax Interior Design Render

by : Mohamed Mansy

Which of these Interior Designs render you like the most? Have you tried using this software? Drop us a comment below. More Inspirations will be posted here so make sure to Subscribe for More Updates.

Getting started in max (tutorials)

...